 |
|
|
|
|
|
|
|
|
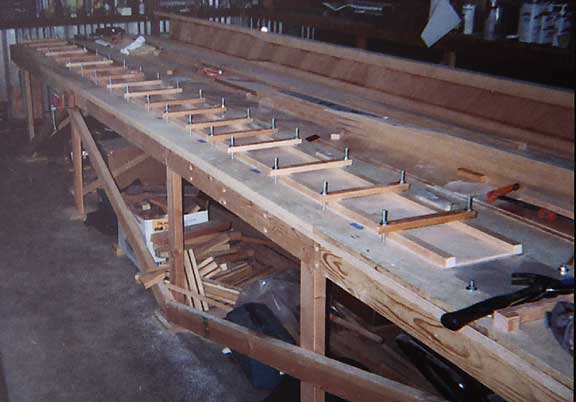
Wing Spar Glue-Up |
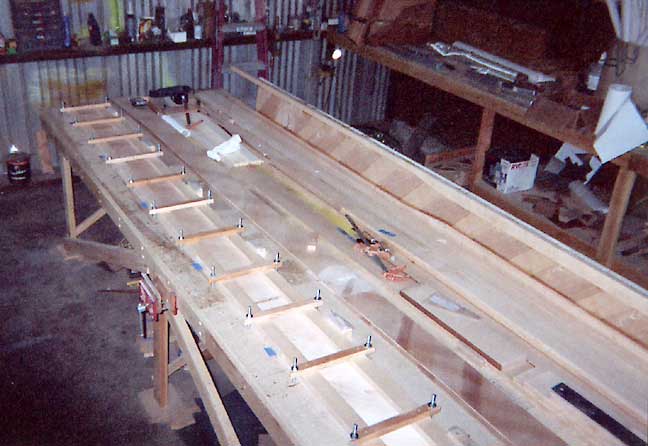
Wing Spars |

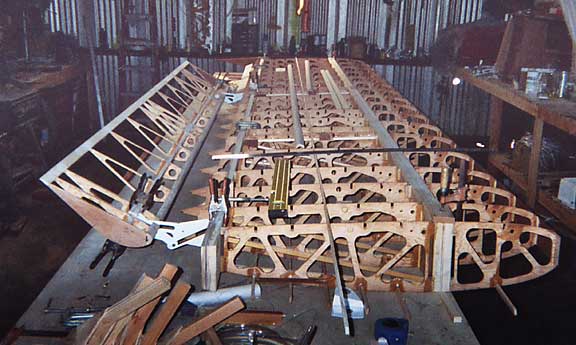
Aileron Glue-Up |
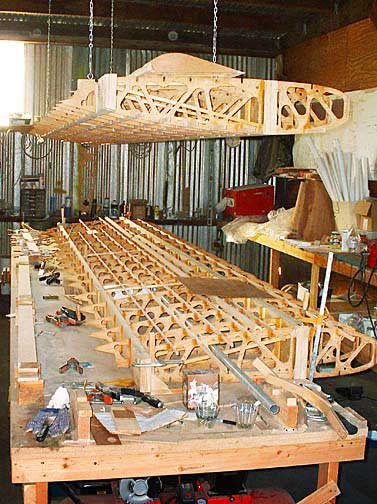
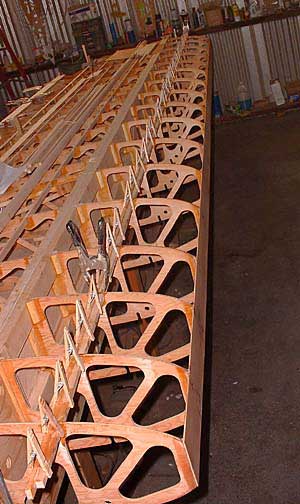
Complete Wing Skeleton With Flap Mounted |
Flap Actuator |
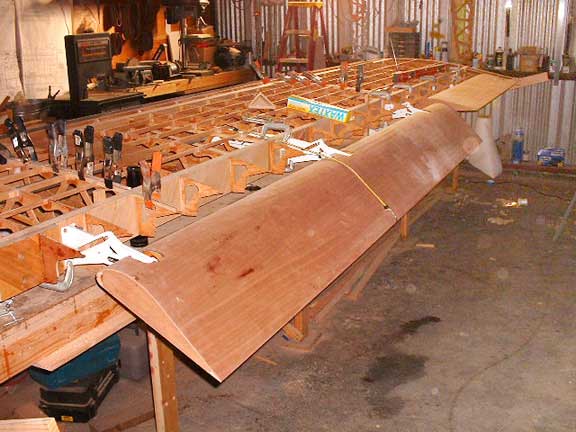
Skinned Flap Mounted On Right Wing |
Detail of Nose Ribs With Extra Strips Glued In Place for LE |

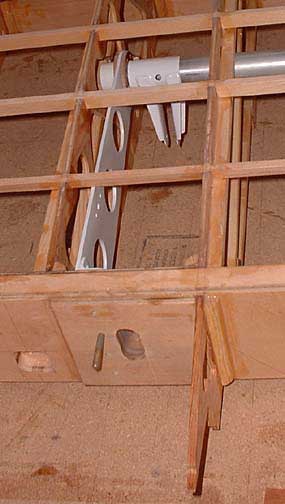
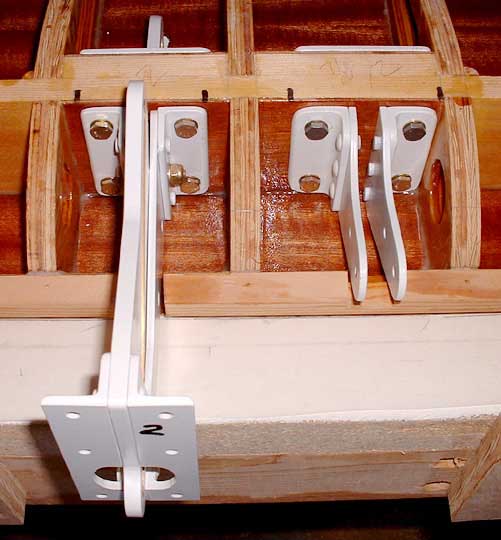
Detail - Flap Actuator arm and Torque Tube. Bottom Skin ON |
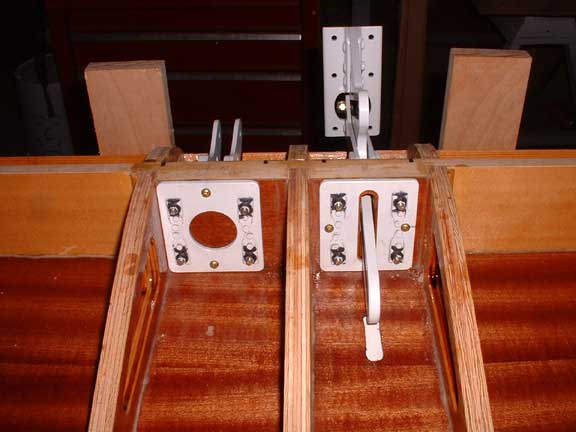
Detail of Flap Hinge from Inside of Flap |
Detail for Flap Hinge from Front of Flap |
|
|
|
|
