Chapter #9, Rear Landing
Gear (needs legs, axles, wheels, brakes, brake lines and covers
built)
ESTIMATED COST OF ASSEMBLY: $2000.00
Includes Parts, Spring gear legs, machine work, but not wheels brakes
or tires.
MODIFICATIONS: * Gear now
properly locks in the down AND the up position.
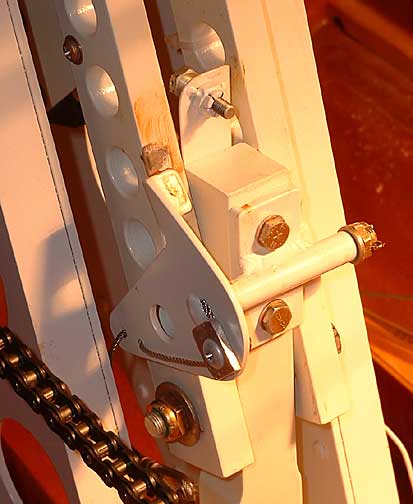
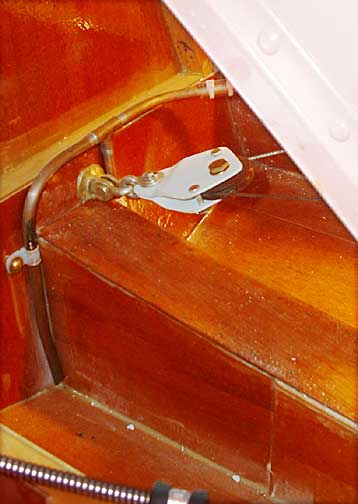
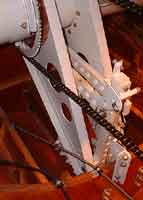
*Gear UNLOCK mechanism... Look
at the photos: The unlock cable is pulled and it actuates a cam that
"pushes" the locking hinge out of the locked (overcenter) position.
I ran the cable down to the lower part of the assembly (near the keel)
to allow the cable to retain the same working length for unlocking both
gear up and gear down.
*I also used machined phenolic bushings
in place of the nylon runners inside the bearing plates.
NOTES ON PLANS: The plans
are a little confusing with respect to the up and down positions.
The confusion comes from the evolution of the plane as larger engines were
added. As the engine weight grew, the step, and the landing gear
position moved aft. On the landing gear this was accomplished by
changing the rotational angle of the main gear tube, rotating it rearwards.
I ended up working it all out on a CAD program to get things to be what
I hope will be right. The down position is correct, I am awaiting
the mounting of my wings to confirm that the rear tires do not interfere
with the wing strut. I should know this by Summer 2003, (Note:later
with wings attached the gear did work out to the right positions)
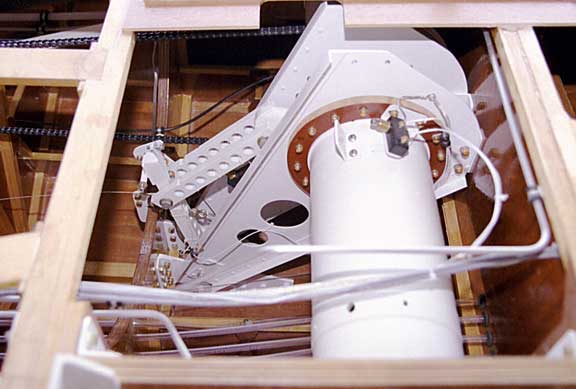
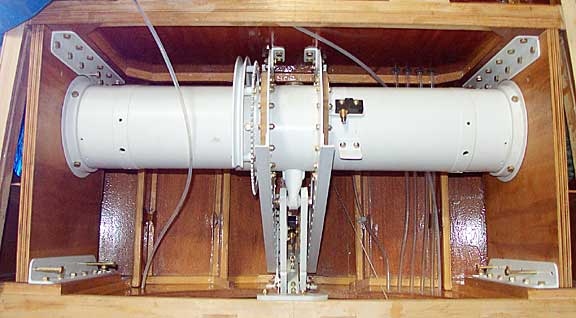
There are three microswitches on the assembly indicating gear up &
gear locked (not visible), the gear down switch is visible on top of the
assembly.
NOTES ON ASSEMBLY: Keep
track of assembly and dissassembly order, it can get confusing sliding
the various objects over the tubes and getting them lined up correctly
as you put it all together. I painted everything and this caused
too much friction on the bearing plates, I ended up sanding a bunch of
the paint off. Don't build to tight tollerances if you plan to paint
THINGS I WOULD DO DIFFERENTLY NEXT
TIME: I later moved the position of the barke lines into the
interior section of the hull see chapter #15 for
details. If doing it all over agoin I would also use wider rings
(outboard) that hold the tube in place and find some real wiper seals to
seal the tube at the wet well. This would be easy to do and would
eliminate the "weeping" of water into the hull during water operations.
|
Seen here is the RLG assembly from
a birds-eye view. The locking pin shown was replaced with a machined
2024-T3 Aluminum pin.
|
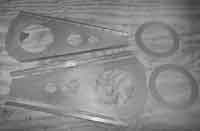
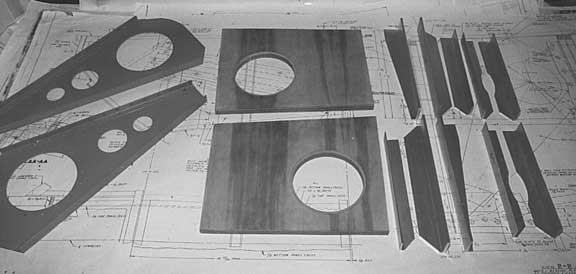
Lock Plate Bearing Parts
|
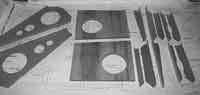
Rear Box Parts
|
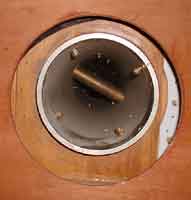
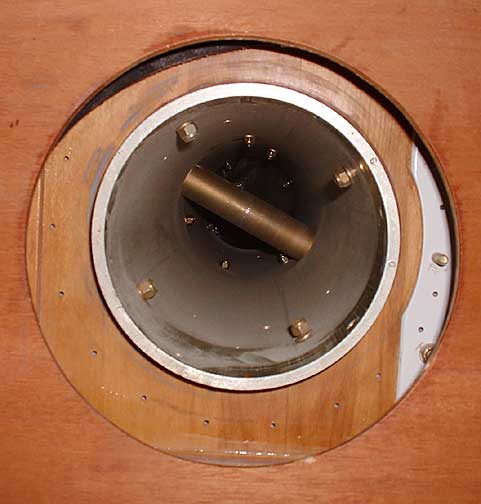
Gear Well (incomplete)
|

Side View
|
Gear Half way Articulated
|

Unlock Cam, Cable
|

Unlock Cam
|

Lock Spring Pulley @ Keel
|