ESTIMATED COST OF ASSEMBLY: About
$400 including the gauge, Sender, and two level switches MODIFICATIONS: The plans
call for an aluminum fuel tank so the fact that I fabricated one out of
fiberglass I guess qualifies as a fairly major modification.
I had seen enough leaks in aluminum tanks to want to look at other options.
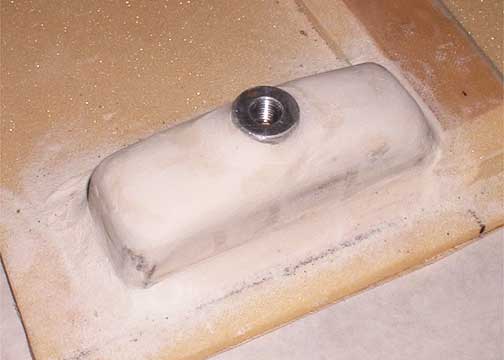
I moved the fuel outlet to the top of the tank to eliminate one potential
leak area. I made provisions for two fluid level switches.
One will activate a "Low Fuel" Light, the other will prevent the transfer
pumps from overfilling the main tank when transferring fuel out of the
floats. NOTES ON PLANS: I based
my tank on the plans for the aluminum tank including the placement of the
sump. NOTES ON ASSEMBLY: Some of the
reasons I decided to work with a foam core glass structure include: I wanted
a tank that had better thermal insulation and would reduce the effects
of condensation within the tank. I was hopping to gain a few gallons
by better occupying the space where the tank rests. As it turned
out this was a wash, The foam core ate up any advantage I had gained in
volume. I like the foam core tank idea as it is essentially a tank
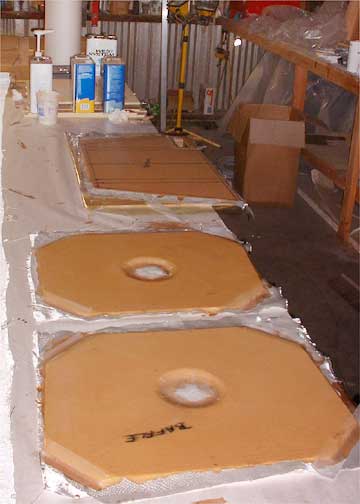
within a tank and very strong. I used "Clark Foam"
and filled the foam with a slurry of microbaloons and resin. I then
used two layers of 4 OZ fabric on both the inside and outside of the tank.
I chose Derekane 411 Vinly-Ester resin as it was designed specifically
for the production of fuel and chemical holding tanks. The vinyl-ester
resin is handled more like a polyester resin than an epoxy. It is
activated and then the cure time depends on the amount of activator used.
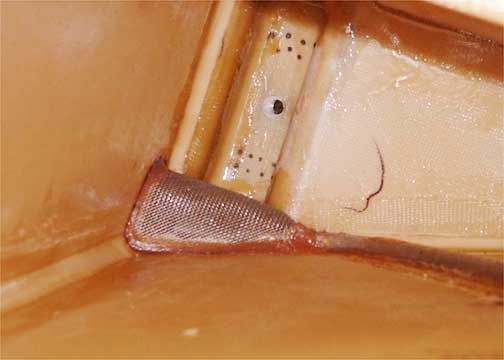
A "Surfacing" agent was used to help promote a solid cure on final lay-ups. The lay-up on the
inside had a bit of a "heavy" resin to cloth mix to guarantee a good seal.
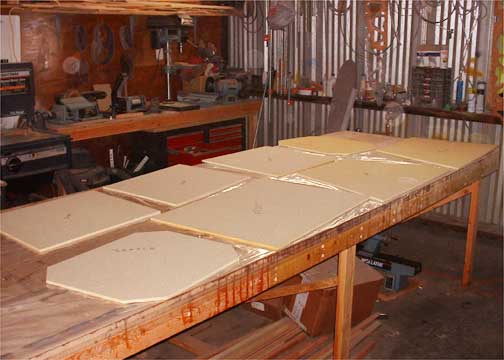
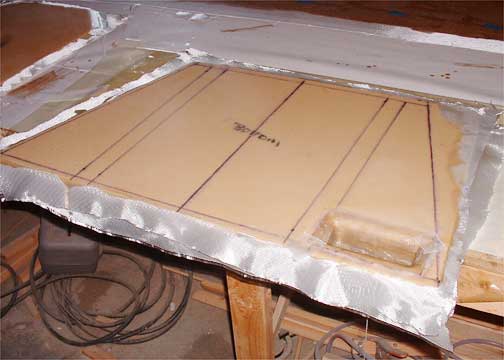
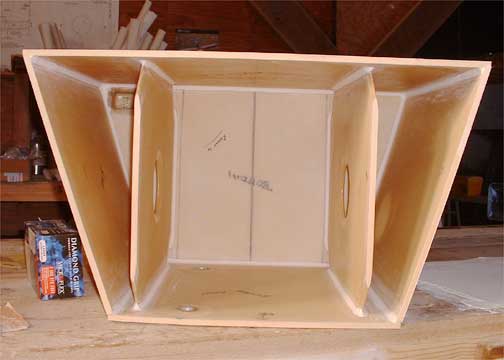
The tank was assembled like a box with exception of the top. All
of the corners were sealed using a radius filet of micro and two layers
of 2" wide cloth. This was probably overkill but I REALLY don't want
to have fuel tank problems down the road. To close it and secure
the top, I sanded everything down flat and true and then "Microed"
the exposed edges of the sandwich walls and made everything clean, pretty
and tightly fit. I closed the tank by gluing the top on with
thick flox/resin mix spread on all of the edges and the mating surfaces
of the top. The top was then put in place (with good excess "squeeze
out"). After it was allowed to set, I radiused the outside corners,
filled them, and glassed them with two lay-ups of 3" wide cloth. THINGS I WOULD DO DIFFERENTLY NEXT
TIME: Nothing really. The tank came out extremely strong,
I'm sure its overbuilt and overweight but I feel that its going to last
forever without leaking. The fuel sender unit could have been put
in a better location, but I'm pretty pleased with my results
Seen here is the fuel tank as it
was air tested for leaks. The balloon held air for a good ten days
before it slowly shriveled from the rubber decaying.