Chapter #7, Horizontal Flying Tail
ESTIMATED COST OF ASSEMBLY: $900
MODIFICATIONS: Added tube
to the trim tab "push-pull rod" pass through to help keep inside of stabilator
dry. Used 1.4 oz. glass to protect the plywood, the thin glass needs
to be vacuum bagged to work without being resin rich.
NOTES ON PLANS: It is a
pretty basic structure the plans are good and without error or need for
clarification. The spar is a box-spar for about 70% of its length,
and then a simple spruce spar for the remainder. The strakes need
more weight than the plans indicate. William Burtis solved this by
bolting weights to the outside surface of the strakes, I simply filled
mine with additional material.
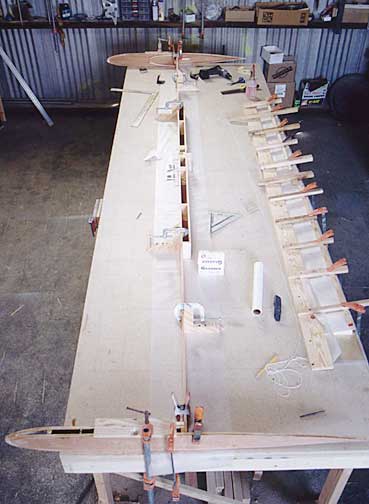
NOTES ON ASSEMBLY: I jigged
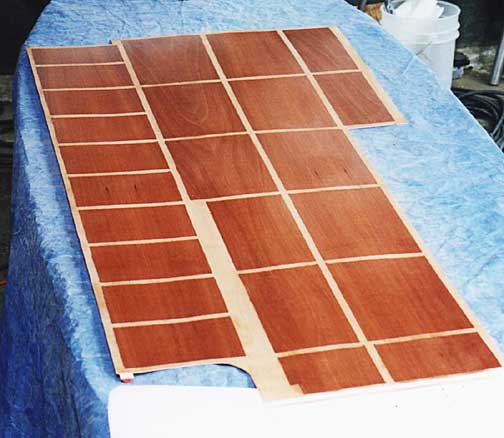
the assembly off of a flat table and it seemed to work fine. The
plywood skins are thin: 1/16" for the Stabilator and 1/32" for its
trim tab. This caused minor "tin canning" but I do not think this
can be avoided. The temptation may be to use a heavier skin but it
is critical to keep the tail of the aircraft light, I would advise against
anything that adds weight. It took three tries to get my trim-tab
push rod bent correctly, maybe I was just stuck on the part being
perfect, but it was tricky to get it to not interfere with anything.
To get the lead into the small space that the plans show for balancing,
I used lead shot and mixed it with epoxy to make something of a lead slurry,
it then poured into the void nicely and set up solid.
THINGS I WOULD DO DIFFERENTLY NEXT
TIME: I would consider making the strakes a little bit longer
in the front (1") to allow for more lead room, and a longer balancing arm
for the stabilator.

Ribs and trim tab
|
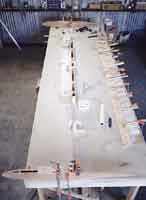
Jigged Up #1
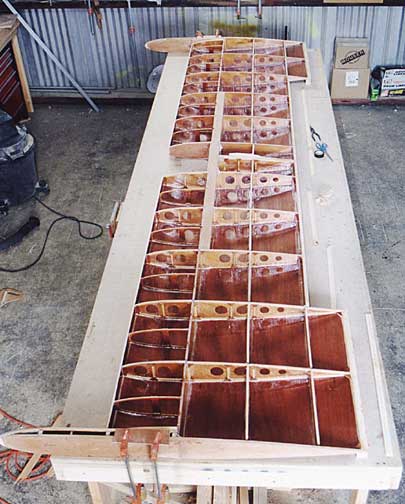
|

Jigged Up #2
|

Bottom skin on
|
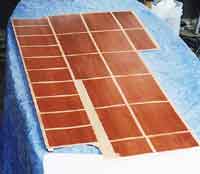
Skin is prepped
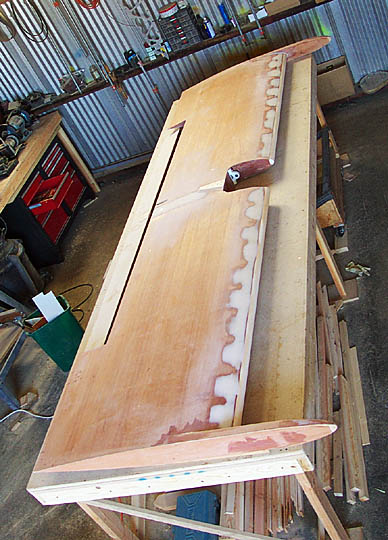
|

completely skinned
|
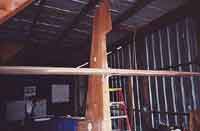
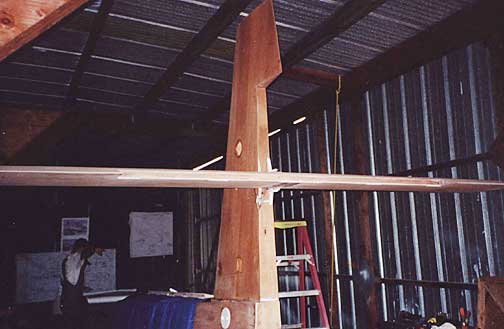
Installed
|